Morphing a map to a sphere in Blender

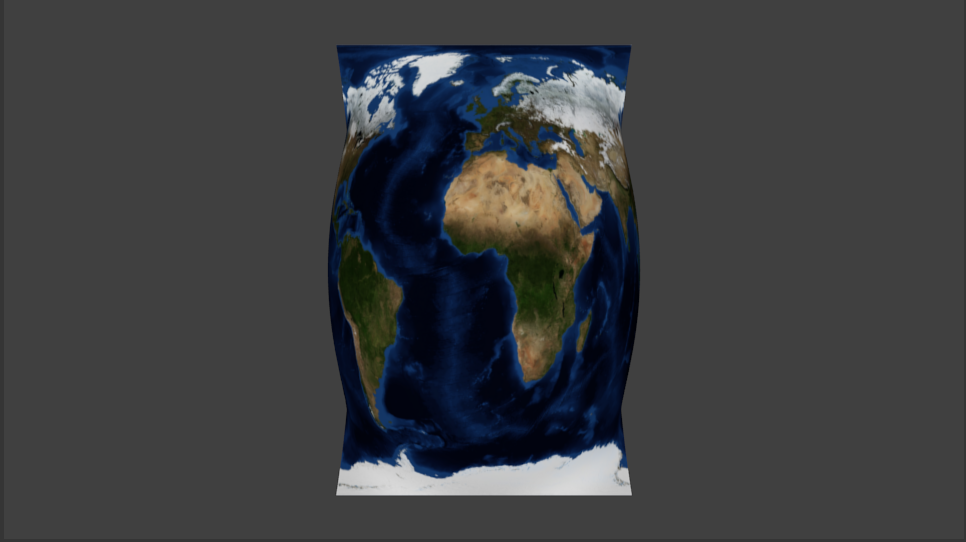
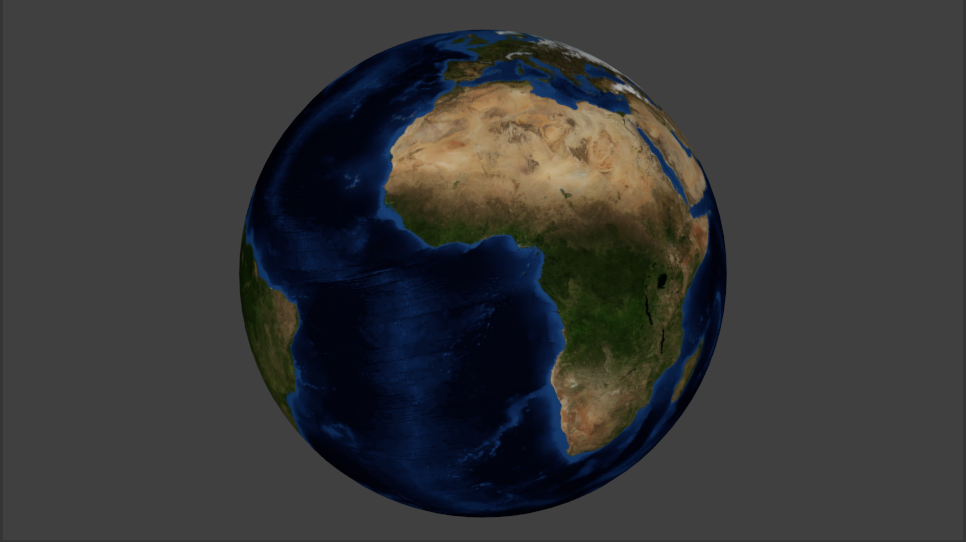
For the RAVE movie, we needed a transformation from a plane to a sphere and vice-versa. Fortunately, Blender already comes with some tools for this, so it's not necessary to do it via scripting, but can quickly be achieved via the visual interface, if one only knows how. Here's the final blend-file of this tutorial: morph-maptosphere.blend.
The method that will be explained now closely follows the answer found at blender.stackexchange.com with a few additions. The orientation is adjusted such, that a camera positioned at (0,-5,0) in Blender will first see a plane with the map face-on, which then morphs to a sphere.
We expect that you have basic experience with Blender already. There are many good beginners tutorials and manuals out there, which you may want to check out first, if you are new to Blender. You should at least know how to navigate, where to find the toolbar and properties menu, how to add basic material and textures to objects.
Start Blender. We tested it with version 2.72, but earlier versions should work in a similar way.
Select the camera in 3D view and position it at
Location: X=0, Y=-8, Z=0. Set the camera rotation toRotation: X=90, Y=0, Z=0. Also add a Sun at the same position and orientation. In principle, you can have camera and lamp wherever you want, but setting it up like this will help to get the same results as shown here.Add a plane:
Shift+Aor via the menu:Add->Mesh->Plane. Increase its size to twice the radius of the final sphere. Let's choose 6 here:Dimensions: X=6, Y=6Rotate the plane such that the camera can see it:
Rotation: X=90.Enter edit mode (
Tab) and subdivide it (via Toolbox at the left side or pressw). Repeat subdivision until the resolution is fine enough.Unwrap UVs:
Mesh->UV Unwrap ...->Unwrapor viaUkey. UV maps can be seen in a panel withUV/Image Editorview. If you only see the render result there, pick something else from the image drop-down menu at the bottom of that panel.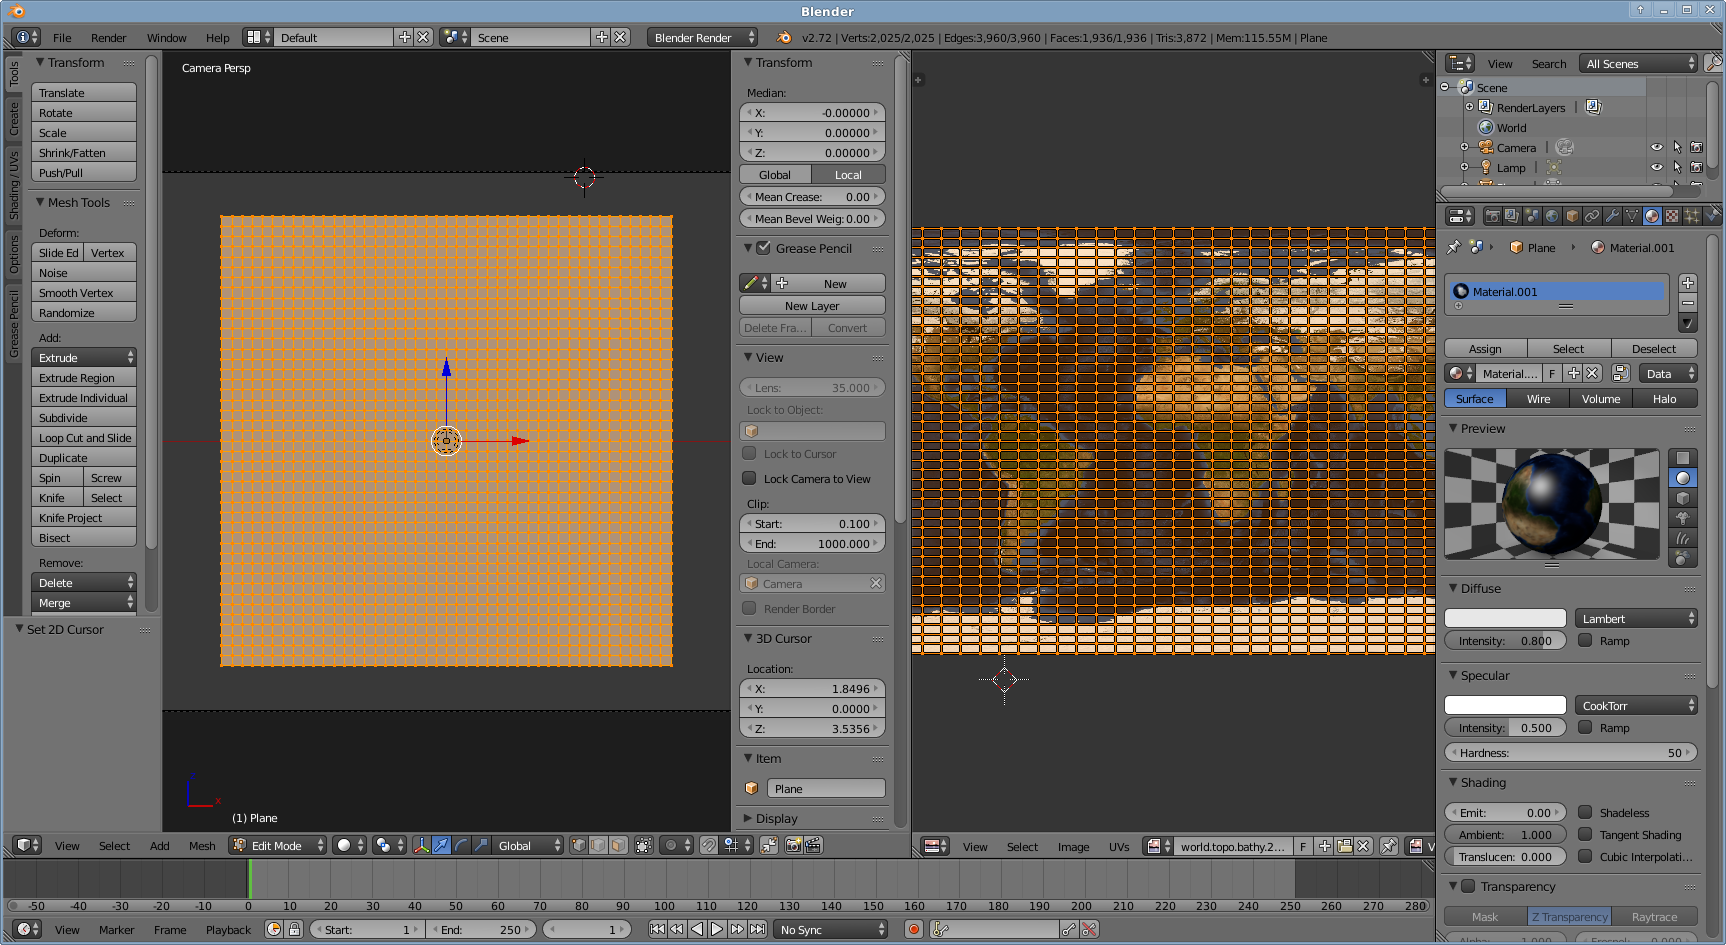
Add a material and a texture to your plane. Pick e.g. a world map or a map of RAVE stars. This should immediately appear in the UV-view of your plane. In this example we took one of NASA's blue marple texture maps for earth. Set the specular intensity of your material to something around 0.1 to reduce it or let it disappear completely.
Make sure that your plane lies exactly at (0,0,0) (
Alt+G).Now we can start with the morphing-procedure. Switch to object mode, in the Properties view select Data (mesh-symbol) and add two shape keys by hitting the
+-button twice. This creates a basis shape key for the current plane-shape and another one, Key 1, which we will use for the sphere shape. Make sure that Key 1 is highlighted.Switch to edit mode again, select all vertices (
A), then rotate them via the x-axis by hittingR+X+-90, confirm withEnter. This rotation is needed to make the warp in the right direction. HitNumpad 3to switch to right view. If you haven't done so, switch to orthogonal mode (Numpad 5).Move your plane up along the z-axis by exactly as much as the radius of your sphere, in our case this means:
Median: Z=3.0(global coordinates). Position the 3D cursor exactly at (0,0,0). This will be the center for warping in the next step.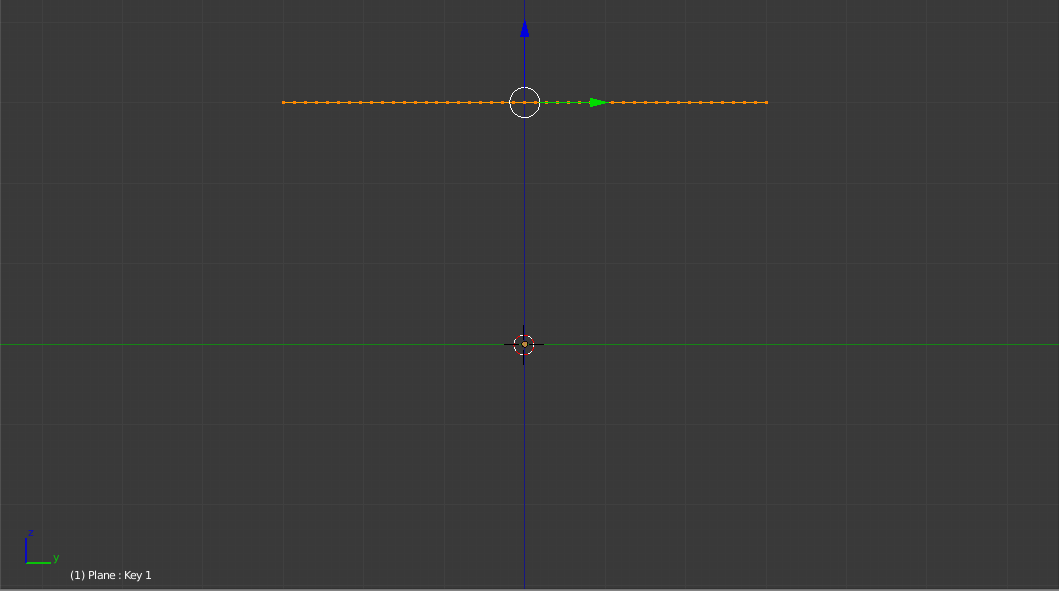
Warp your plane: hit
Space, then typeWarpand select it (or via the menu:Mesh->Transform->Warp. Before doing anything else, adjust the warp-angle in the toolbar on the left side of the 3D view to 180 degree. Min and Max should be -3 and 3, respectively. This creates a half circle in this view. In fact, we just made a half cylinder.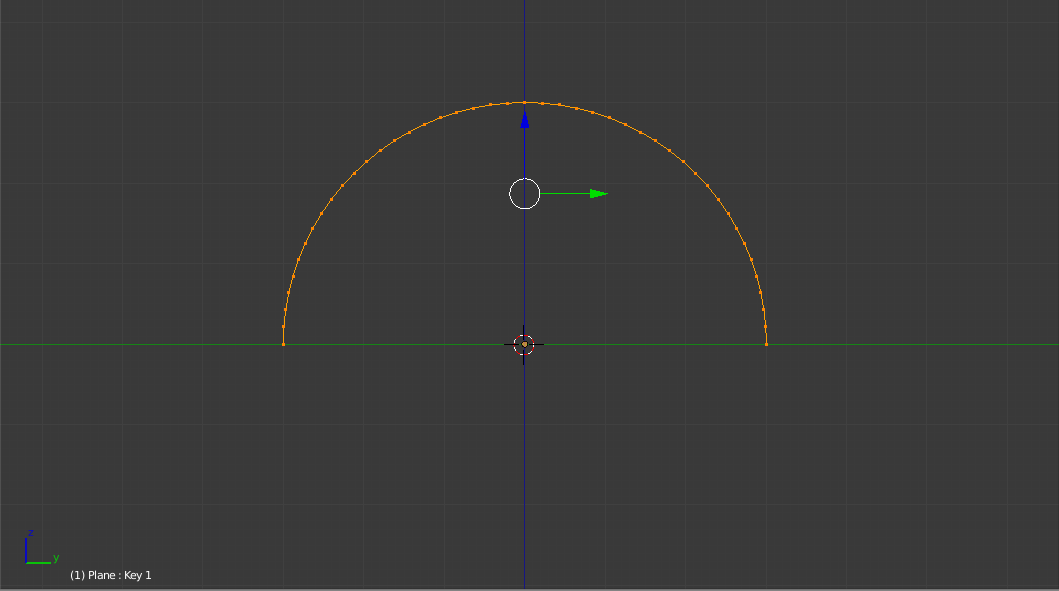
Now switch to front view with
Numpad 1. We see the half cylinder now from the side. Warp it again around the 3D cursor (still at (0,0,0)), but this time choose 360 degrees.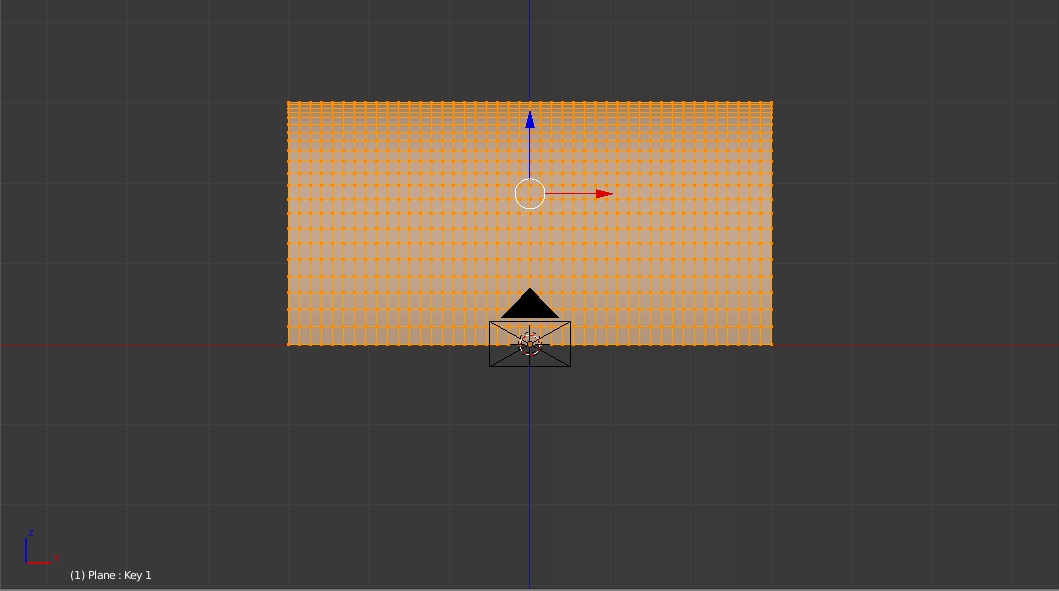
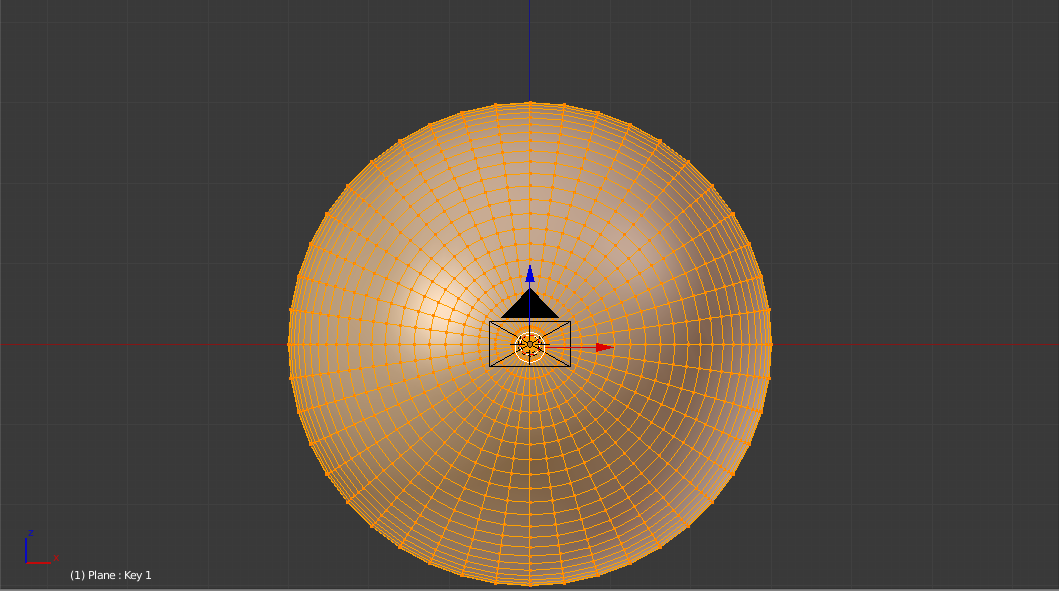
Rotate the vertices with
R+X+90to get the correct orientation again. If you want the texture maps edges to bend towards the camera and closing in front of it, you can switch the orientations: at the beginning rotate by +90, then here rotate back by -90 degrees.Switch back to edit mode: the sphere disappears and you see the plane again. But don't worry: it's still there, you only need to activate the corresponding shape key: highlight Key 1 of the shape keys (in Properties, Data) and adjust its value from 0 (plane) to 1 (sphere).
You can now add animation keyframes for the shape key value to create a nice animation of a texture map transforming into a sphere. E.g. set the current frame to 0 (e.g. in the Timeline view), then set the shape key value to 0. Hover with the mouse over the shape key value, click
Ito insert a key frame. Now go to frame 100, set the shape key value to 1 and clickIagain to insert a second keyframe.![[Shape value keyframe]](/img/vis/screen-shapekeyframe.png)
When moving through the frames in the Timeline, you'll now see the map morphing into a sphere. Here's the final animation: