Transforming RAVE stars in Blender
![]()
Once the RAVE stars (or another similar point distribution) are loaded into Blender (see RAVE stars tutorial), it is possible to change the positions and map them to a flat map or a sphere. The trick is to use shape keys for this: shape keys store an object's shape (its vertices) and can be used to deform it into another shape.
The RAVE-stars are stored as vertices of meshs, so if we want to move them to e.g. the surface of a sphere, we just have to add a new shape key, set its value to 1 and modify the vertices as desired. Later on, one can add keyframes to the shape key values in order to animate the shape. Its getting complicated? I've prepared a script that does it all for you:
- Script: deform_starmesh.py
Here's how to do it:
Download the script above.
Open a blender-file with the RAVE stars (or something similar) loaded. You can use the ravestars-demo.blend file from the RAVE stars tutorial for this.
Load this script as a text block into Blender by choosing in the Text Editor's toolbar:
Text,Open Text Block. The script will be loaded.In the main-part at the end of the script, adjust the variable
namepatternto match your mesh-object names which contain the stars or points. If you use the demo-blend-file, you neednamepattern = 'stars-*'.Choose
Text->Run Scriptor pressAlt+Pto run the script. Check the console output if something fails.When moving along the timeline, you should now see how the stars moving to different positions! That's it!
You can play with the parameters in main: choose a different
rsphereto make the sphere bigger or smaller, adjust the keyframes (isphere1,imap2etc.) to make the transformation faster or slower. You can also remove the map-shape key there or just remove its animation and set the value to 0. Whenever you adjust something here, rerun the script. This should remove all the previously created shape keys and recreate them with the new settings.If you used the demo-blend-file, you may want to adjust the camera movement. Let's shift the movement along the camera path further along the timeline, say ~ 100 keyframes. This can be done via the Dope sheet editor, by script (see for example shift_keyframes.py or by removing and inserting the keyframes again. Let's use the latter possibility: select the camera path
BezierCirclein the Outliner, then in the Properties window choose the Data tab. Scroll down toPath Animation,Right clickonEvaluation timeand selectClear Keyframes. Set the current frame in the Timeline view to100, set theEvaluation Timeto0and keyframe it (Ikey when hovering over this field). Repeat with the frame set to300and theEvaluation Timeset to100. Also set theEnd framein the Timeline to300.Now press the
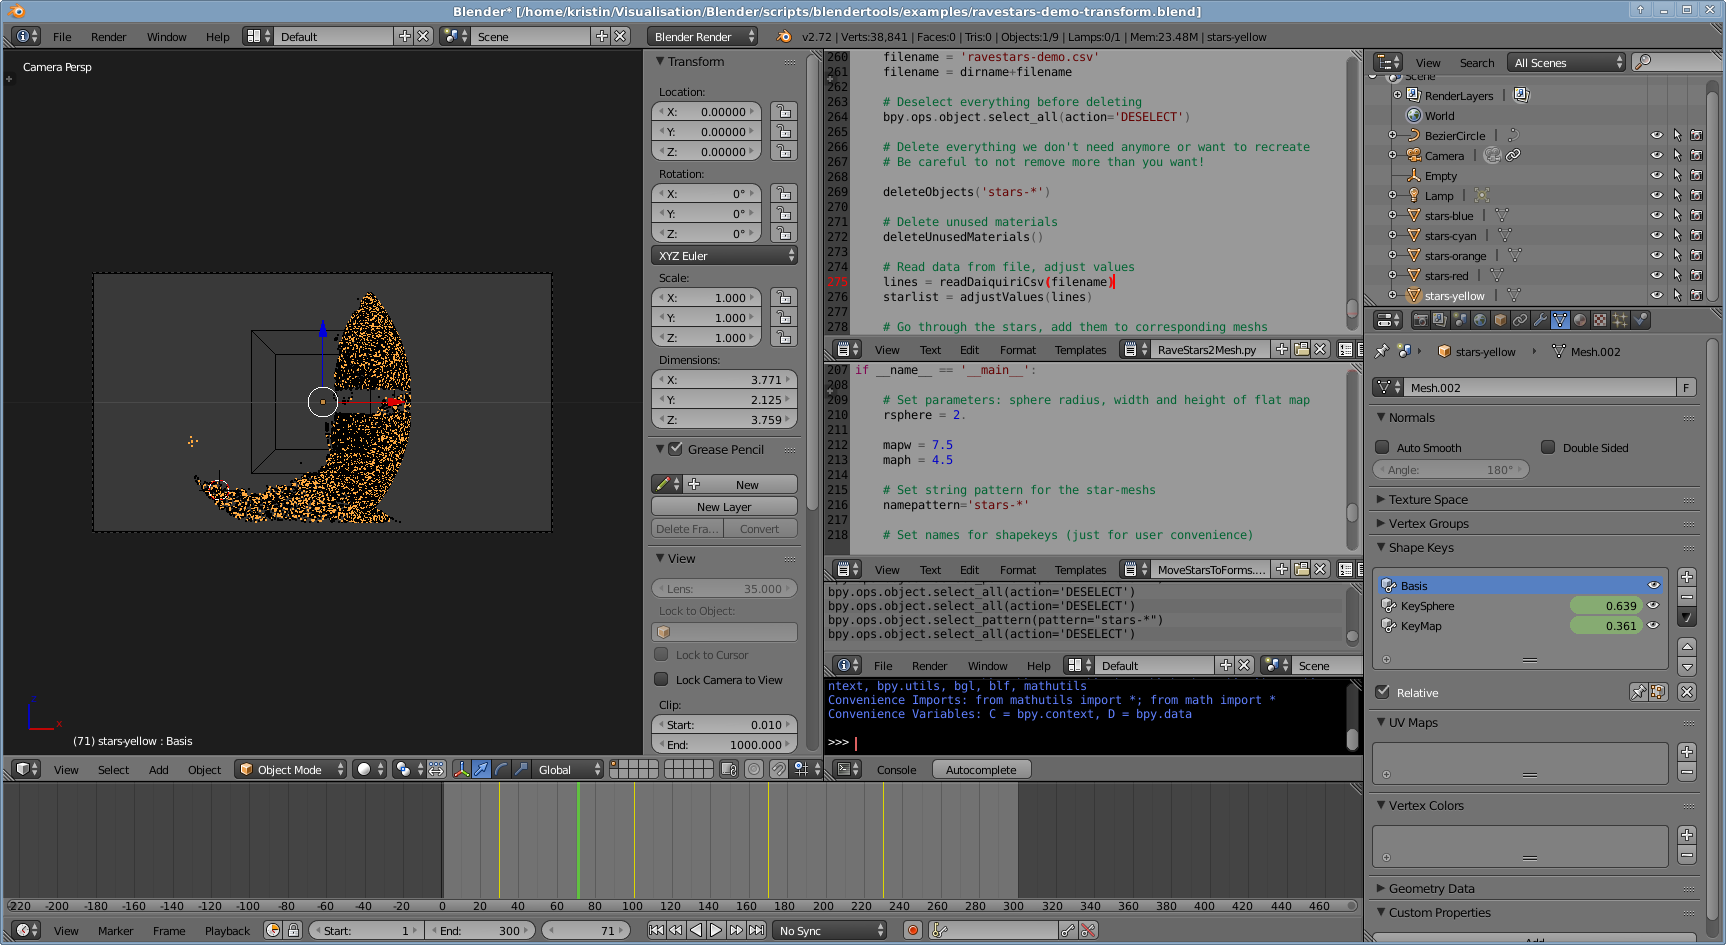
Play Animationbutton in the Timeline (orAlt+A) to play the animation. If you want to render it, adjust the resolution and file-output in Properties-view, Render-tab and selectRender,Render Animation.Here is a blender file, with all the steps above already done for you: ravestars-demo-transform.blend.
And here is the final animation using this blend-file: